Sometimes what seems like common sense is actually learned knowledge—bits of wisdom gained over years of experience. In our case—planting the proper way comes as second nature, and we often have to remind ourselves that not everyone has been taught the process like we have. In many cases, even other companies seem to miss the fundamentals, making our work that much harder after they’ve departed. So don’t feel bad if you’ve got a lot to learn—even so-called “professionals” could use a lesson or two!
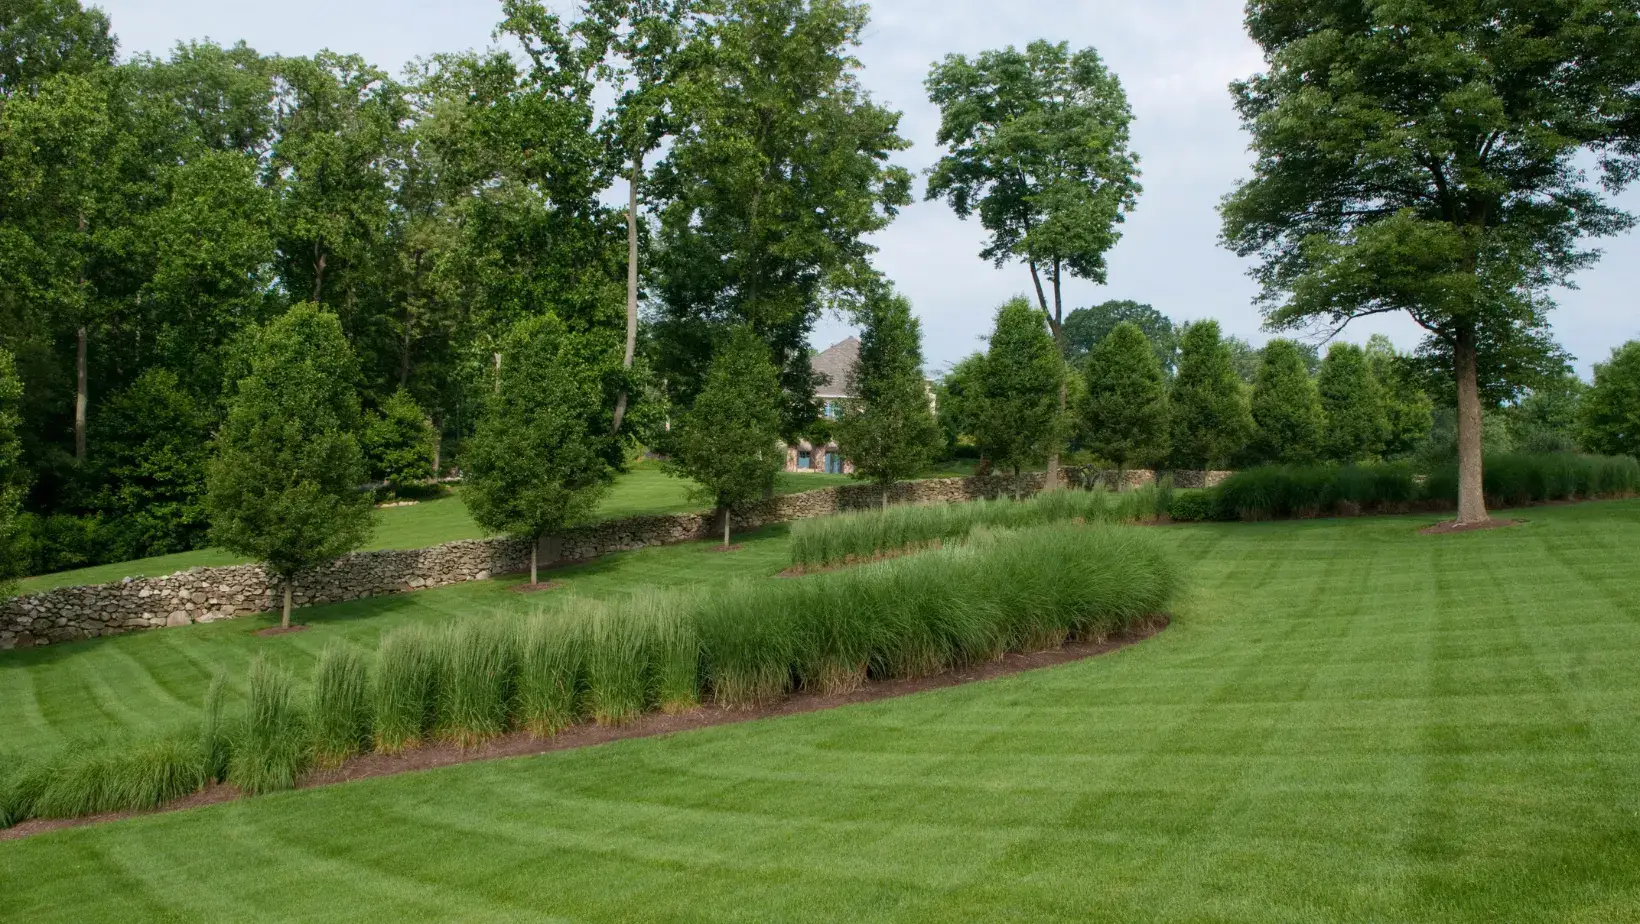
Almost all of our designs incorporate new plantings of some kind. Whether that means giant arborvitaes or small vinca starts, the first steps are the same. Read them below:

1. Preparing the Planting Hole
This seemingly simple task is actually where many people make the worst mistakes. But doing it right isn’t complicated, and it won’t make any difference if you hold the shovel one way or another. It’s just a matter of digging the right size hole.
In order to create an optimal environment for the plant, a hole must be two to three times the width of the root ball (or if there’s no root “ball”, just measure by the bare roots). Regarding depth, it’s best to keep it only as deep as the root system, so nothing above it becomes buried. The point where the stem or stalk or trunk of a plant spreads out into roots at ground level is referred to as “root flare,” and covering this in dirt can deprive the root systems of necessary oxygen.
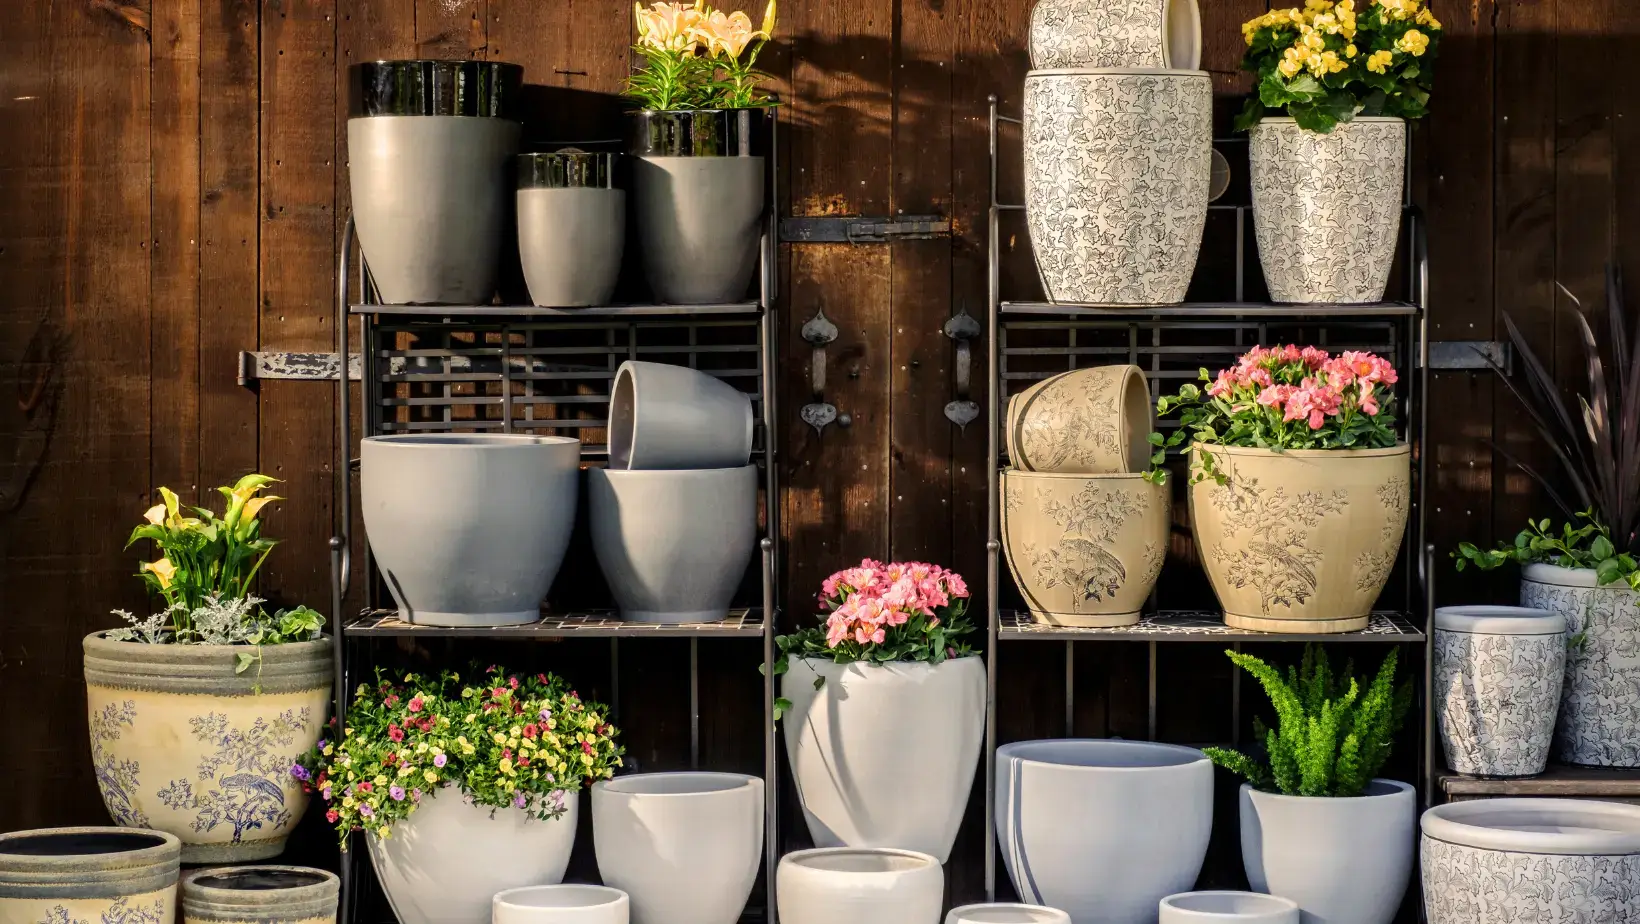
2. Preparing the Plant
If the plant’s roots are intact and bare, it can be carefully placed upright in the prepared hole without any additional tinkering. But in the event that roots are damaged in transit or during transplant, any damaged roots should be identified and pruned with a sharp pair of shears. If roots are in good shape, but compounded tightly into a root ball, the root ball should be “quartered” by making several vertical slices down the side and an “X” pattern on the base to encourage outward root growth. Without this, plants may not send roots far enough into the soil to receive adequate nutrition and water.
An additional note: be sure to remove any tight strings, burlap, metal cages, or other materials that may girdle the plant as it grows outward. When this happens, the plant’s external walls break and limit food and water transportation throughout its system.
3. Preparing the Soil
In many cases–and this is something we see in our region very often—the native soil from which the hole was dug is actually the best option for refilling it! Many properties are lucky to have excellent quality soil that’s already perfectly attuned to the specific region and plant types. We recommend having your soil tested beforehand to determine if this is the case in your yard.
If not, however, you’ll have to use a soil mix to fit your particular situation. At Terren, we custom make soil mixes with necessary amendments, using various types of topsoil, sand, premium compost and other elements to achieve the right balance. You’ll have to do some research to figure out what your plants require and how to provide it. But once you do, most garden supply stores will have everything you need to make it happen!
4. Planting!
Once the hole is dug, the plant’s prepared, and the soil is set to go, it’s time to carefully place the tree or shrub within the hole, being sure to keep it upright and facing the way you want before finalizing it. Next, simply backfill the hole, making sure the dirt is packed in sturdy enough to hold the plant in place, but not so compact that root growth is impeded. Bring the soil to a level just beneath or level with the root flair, making absolutely sure it doesn’t get buried in the process! Burying the root flair is one of the most common mistakes we see made, and it’s often a fatal blow to the plant!
")
5. Finishing Touches
The final steps in this careful process include applying your choice of mulch around the plant and providing it with a deep, thorough watering. This will provide great weed-reducing and water-retaining benefits. When mulching, be sure once again that you don’t cover the root flare!
In order to prevent transplant shock, you’ll need to keep your new plants moist with careful monitoring and watering or some kind of irrigation system. Another option is what’s known as a “gator bag”, which surrounds the base of the plant and provides a slow and constant drip of water to the roots.

With a combination of water monitoring and mulch, you’ll give your plant a great environment to grow within, and can be sure you’ve done everything you could to make it work!
Looking back, it seems we may have underestimated just how much goes into the planting process! And we didn’t even get into the challenges of larger trees or steep grades! But with those types of projects, it’s really best to leave it to the professionals anyway.
Hopefully this article gave you some insight into the process, which you can use to you’re your hands dirty this spring, or use as reference when we’re installing that new cluster of trees you’ve been talking about for years!
Reference:
Swackhamer, E. 2008. Plant with care. Penn State Extension. UJ239. Retrieved from http://extension.psu.edu/plants/gardening/fact-sheets/factsheets/plant-with-care.